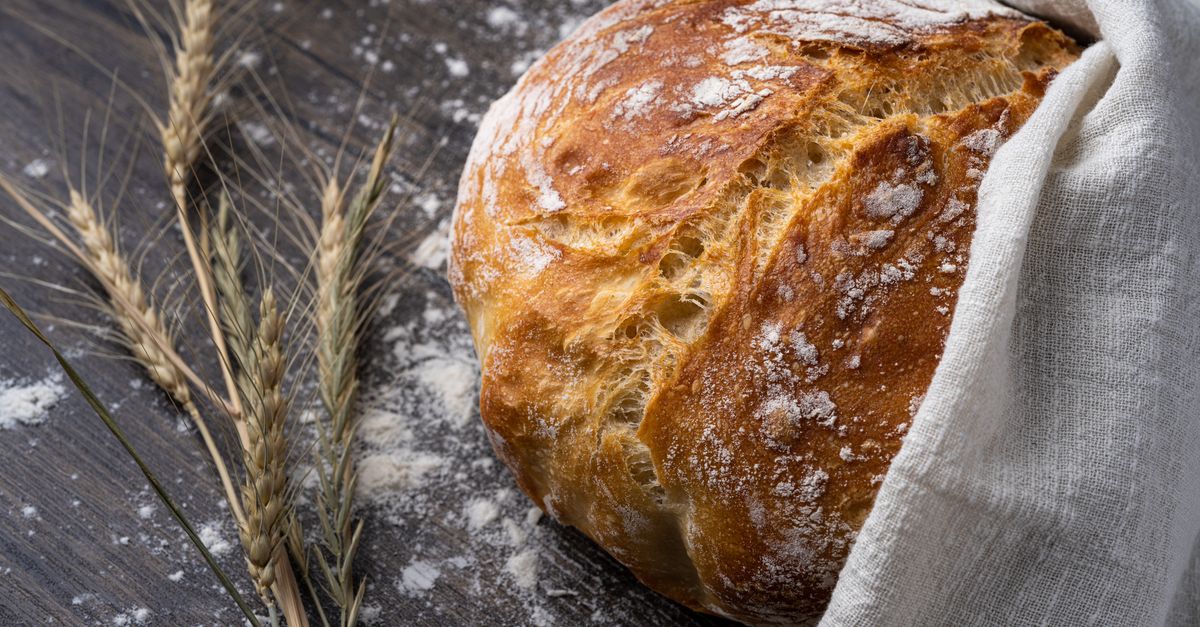
Why Your Homemade Bread is Dry and Crumbly (And The Simple Shifts That Guarantee a Light, Airy Loaf Every Time)
There’s nothing quite like the aroma of freshly baked bread filling your home. It’s a promise of warmth, comfort, and culinary satisfaction. Yet, for many home bakers, that promise often falls flat, quite literally. You spend hours kneading, waiting for proofing, only to pull out a loaf that’s heavy, dry, and crumbles at the mere thought of slicing. I’ve been there, more times than I care to admit. The disappointment of a beautiful-looking crust hiding an interior that tastes more like sawdust than a tender crumb is enough to make anyone reconsider their baking ambitions. For years, my homemade loaves were consistently dense, dry, and frustratingly crumbly. I blamed the flour, the yeast, even my oven, never realizing the subtle, yet critical, mistakes I was making in my process.
This isn’t about blaming you, the baker. It’s about recognizing the common pitfalls that transform a potentially perfect loaf into a dry, crumbly disappointment. It’s about understanding that bread baking, while seemingly simple, involves a delicate balance of science and technique. What changed everything for me wasn’t a fancy new ingredient or an expensive stand mixer, but a few fundamental shifts in how I approached each step. These weren’t secrets from an ancient baking scroll, but rather practical adjustments rooted in a deeper understanding of dough hydration, fermentation, and proper baking temperatures. If you’re tired of dry, crumbly bread and crave that light, airy, tender crumb you see in bakeries, keep reading. I’m going to walk you through the precise adjustments that transformed my baking, ensuring every loaf is a triumph, not a crumbly disaster.
Key Takeaways
- Prioritize proper dough hydration by adding liquid gradually and assessing dough texture accurately.
- Optimize kneading time and technique to develop sufficient gluten without overworking the dough.
- Manage fermentation and proofing diligently, recognizing visual cues for perfectly risen dough.
- Ensure your oven temperature is accurate and introduce steam for a superior crust and crumb.
- Resist the urge to slice warm bread to allow internal moisture redistribution and prevent dryness.
The Hydration Misconception: Why More Flour Isn’t Always the Answer
When your dough feels sticky, your first instinct, like mine once was, is to add more flour. It’s a natural reaction to a messy situation, but it’s often the primary culprit behind dry, crumbly bread. Here’s the critical truth: most home bakers drastically under-hydrate their dough. While recipes provide a ratio, factors like flour type, humidity, and even the batch of flour can influence how much liquid is truly needed. Standard all-purpose flour typically needs around 60-65% hydration (water weight relative to flour weight) for a good sandwich loaf, but even slightly higher, say 68-72%, can yield a noticeably softer, more open crumb for artisan breads.
In my early baking days, I’d meticulously measure ingredients, but the moment the dough felt even slightly tacky, out came the extra flour. I was aiming for a perfectly clean, non-sticky dough, believing that stickiness equated to failure. What I learned, through countless dense loaves, was that a slightly tacky, even somewhat shaggy dough, especially early in the kneading process, is not only acceptable but desirable. This higher hydration is what allows the gluten network to properly form and stretch, trapping the gases produced by the yeast, resulting in that coveted airy texture. Too much flour starves the gluten of the moisture it needs to become elastic, creating a tight, brittle network that easily breaks, leading to a dry, crumbly loaf.
The Simple Shift That Changed Everything For Me: I stopped blindly following the exact flour measurement in recipes and started treating the liquid component with more flexibility. Now, I always hold back about 10-15% of the flour initially, or conversely, add all the flour but reserve about 10-15% of the liquid. I mix the ingredients until just combined, let it rest for 10-20 minutes (an autolyse, which helps the flour absorb water), and then, during kneading, I gradually add small amounts of the reserved liquid (or flour, if truly needed) until the dough reaches the right consistency. This means a dough that’s still slightly tacky, but manageable. It should pull away from the sides of the bowl or your hands cleanly, but still feel soft and pliable, not stiff or dry. A good visual cue for higher hydration dough is that it will often look a bit shaggy and loose before kneading, and even after kneading, it won’t be perfectly smooth like play-dough; it will have a pleasant stickiness that signifies its moisture content.
The Over-Kneading Trap: When Too Much Love Kills Your Loaf
Kneading is essential. It develops the gluten, creating the elastic network that gives bread its structure and chew. However, there’s a critical point where more kneading doesn’t help; it actively harms. Over-kneading is a common mistake that can lead to a dry, tough, and crumbly texture. When gluten is overworked, it becomes tight, loses its elasticity, and eventually breaks down. This results in a dough that’s difficult to work with and, ultimately, a bread with a poor crumb structure that feels dry and hard to chew.
I remember vividly spending 15-20 minutes with my stand mixer on a medium-high setting, convinced that the longer I kneaded, the better my bread would be. The dough would look smooth and shiny, passing the ‘windowpane test’ (stretching a small piece of dough thin enough to see light through it without tearing) beautifully. But the resulting bread was invariably dense and dry. I was confusing a smooth, taut appearance with optimal gluten development, not realizing I was pushing the gluten past its peak.
The Simple Shift That Changed Everything For Me: I drastically cut down my kneading time and learned to rely on the dough’s feel rather than the clock. For most standard bread doughs, 8-10 minutes in a stand mixer on medium speed (or 10-12 minutes by hand) is usually sufficient. Instead of aiming for maximum smoothness, I now look for a dough that feels elastic, springs back slowly when poked, and passes the windowpane test, but just barely. It should still have a little give, not be so tight it resists stretching. For no-knead or minimal-knead breads, I embrace folding techniques (like stretch and folds) over aggressive kneading. These gentle manipulations develop gluten over time, resulting in an incredibly tender crumb without any risk of overworking. The key is to develop the gluten just enough for structure, but not so much that it tightens up and dries out.
The Proofing Problem: When Patience Becomes a Virtue (and Vice)
Proofing, the process where yeast ferments and produces gas, is where your dough develops much of its flavor and rise. Getting it wrong—either under-proofing or over-proofing—will significantly impact the final texture of your bread, often leading to a dry, crumbly interior. Under-proofed bread is dense and tight, with a crumbly texture because the gluten hasn’t relaxed enough to expand. Conversely, over-proofed bread often collapses, leading to a coarse, dry, and crumbly structure because the gluten network has stretched beyond its capacity and can’t hold the gas.
My initial struggles with proofing involved impatience. I’d watch the clock, and if the recipe said “proof for 1-1.5 hours,” I’d stick to that religiously, regardless of what the dough was telling me. Then, I swung to the other extreme, letting it rise ‘until doubled’ in a warm spot, sometimes for hours, resulting in collapsed, boozy-smelling dough. Both scenarios produced frustratingly dry and dense bread.
The Simple Shift That Changed Everything For Me: I learned to prioritize the “poke test” over the clock or simple visual doubling. For a first rise, I look for dough that has roughly doubled in size and feels noticeably lighter. For the final proof (after shaping), the poke test is indispensable: gently poke the dough with a floured finger. If the indentation springs back immediately, it’s under-proofed. If it doesn’t spring back at all and the dough deflates, it’s over-proofed. The sweet spot is when the indentation slowly springs back halfway. This indicates the dough is perfectly relaxed and has enough structure to hold its shape during baking. I also started paying attention to ambient temperature; cooler temperatures require longer proofing times, and warmer ones, shorter. A cool, slow proof often yields better flavor and texture. This shift from rigid timing to reading the dough’s readiness was a game-changer for achieving a tender, open crumb.
The Oven Environment: Heat, Steam, and the Quest for the Perfect Crust
Once your perfectly hydrated, kneaded, and proofed dough enters the oven, the baking environment plays a crucial role in its final texture. An incorrect oven temperature or lack of steam during the initial bake are major contributors to dry, crumbly bread. Too low a temperature means the bread dries out before it sets, while too high can create a hard, thick crust that traps moisture unevenly, leading to a dense, dry interior. Crucially, the absence of steam prevents the crust from developing properly, causing it to harden too quickly and restrict the dough’s final rise (oven spring), resulting in a tighter, drier crumb.
I used to simply preheat my oven to the specified temperature and slide my loaf in. My bread often had a thick, dull crust and a dense, dry crumb. I assumed my oven was fine, never questioning its accuracy or the need for steam. It wasn’t until I invested in an inexpensive oven thermometer that I realized my oven was consistently running 25-50°F cooler than what the dial indicated. This meant my bread was baking at a lower temperature, leading to prolonged baking times and excessive moisture loss.
The Simple Shift That Changed Everything For Me: First, I calibrated my oven with a reliable oven thermometer and adjusted accordingly. Now, I always preheat for at least 30-45 minutes, often longer, to ensure the oven (and any baking stones or Dutch ovens) is thoroughly heated. Second, and this is a monumental game-changer, I started introducing steam during the initial phase of baking. For a free-form loaf, I place a cast-iron pan or another oven-safe dish on the bottom rack while preheating. Just before I load the bread, I pour about a cup of boiling water into the hot pan and quickly close the oven door. The steam keeps the crust soft, allowing the bread to expand fully during oven spring, creating a light, airy crumb. After 15-20 minutes, I remove the steam pan to allow the crust to crisp up and brown. Alternatively, baking in a preheated Dutch oven achieves the same steaming effect, as the lid traps the bread’s own moisture. This combination of accurate heat and initial steam transformed my loaves from dry and brittle to gloriously airy and tender with a beautiful, crisp crust.
The Post-Bake Impatience: Why Slicing Warm Bread is a Sin
This is perhaps the hardest rule to follow, especially after your kitchen has been filled with the intoxicating aroma of freshly baked bread. You pull that golden-brown loaf from the oven, its crust singing and crackling, and the urge to slice into it immediately is almost irresistible. However, slicing into a warm loaf is a cardinal sin in bread baking, and it is a major contributor to dry, crumbly bread.
In my early baking days, I succumbed to this temptation every single time. The steam wafting from the sliced bread felt like a reward for my efforts. What I didn’t realize was that this steam was actually precious moisture, rapidly escaping from the still-setting crumb. The internal structure of the bread is still undergoing a crucial process called retrogradation as it cools. During this time, the starch molecules within the crumb are reorganizing and redistributing moisture. When you cut into a hot loaf, you interrupt this process, causing that trapped moisture to evaporate quickly, leaving you with a sticky, gummy, and ultimately dry, crumbly interior once it fully cools.
The Simple Shift That Changed Everything For Me: I developed iron-clad discipline, often placing the cooling loaf somewhere out of immediate reach (or sight!) to remove the temptation. Now, I always allow my bread to cool completely on a wire rack for at least 1-2 hours (or even longer for larger loaves) before even thinking about slicing it. For sourdough or artisan loaves, I often wait 3-4 hours, or even overnight. Yes, it’s excruciating, but the difference in texture is monumental. A fully cooled loaf will have a tender, cohesive crumb that holds together beautifully, resisting crumbling, and it will taste exponentially better. The patience in those cooling hours is rewarded with superior texture, flavor, and shelf life. Think of it as the final, essential step in the baking process, not merely a waiting period. This single, simple act of patience dramatically improved the overall quality and moisture of my homemade bread.
Frequently Asked Questions
Q1: Can I use different types of flour to prevent dry bread?
A1: Absolutely. Different flours absorb water differently. Whole wheat flour, for instance, has more bran and germ, requiring significantly more water (often 75-85% hydration) than all-purpose or bread flour to achieve a similar dough consistency. Experimenting with a blend of flours, such as adding a small amount of vital wheat gluten (1-2% of flour weight) to all-purpose flour, can also improve gluten development and water absorption, leading to a more tender crumb. Always adjust liquid gradually based on the dough’s feel.
Q2: How can I tell if my dough is properly hydrated without a scale?
A2: While a scale is best for accuracy, you can learn to recognize proper hydration by feel. A well-hydrated dough should be soft, pliable, and slightly tacky to the touch. It should feel alive and elastic, not stiff or dry. If kneading by hand, it will still stick to your fingers a bit but should pull away cleanly from the work surface after a few minutes of kneading. If it’s too sticky to handle, add flour in tiny increments (a tablespoon at a time). If it’s too stiff and resisting stretching, add water in teaspoons. The key is to trust your hands and make small, incremental adjustments.
Q3: What if my oven doesn’t get a good steam effect with just a water pan?
A3: If you’re struggling to create enough steam with a simple water pan, consider using a preheated Dutch oven or a cloche. These methods trap the bread’s own moisture, creating a perfect steaming environment that yields excellent oven spring and a crisp crust. For larger loaves that don’t fit, you can also mist the inside of your oven with a spray bottle of water during the first 10-15 minutes of baking, being careful not to spray the light or elements.
Q4: My bread cools for hours but still feels dry and dense. What else could be wrong?
A4: If you’ve addressed cooling time, revisit hydration, kneading, and proofing. Under-hydration is the most common culprit for dryness. Also, check your kneading: an under-kneaded dough won’t develop enough gluten to hold moisture, while an over-kneaded one can break down the gluten, leading to similar issues. Finally, ensure your proofing is spot-on—either under or over-proofing can result in a dense, tight crumb that feels dry.
Q5: How can I store homemade bread to keep it from drying out quickly?
A5: Once completely cooled, store your bread in an airtight container or a bread box at room temperature. For longer storage, slice the cooled loaf and freeze individual slices or halves in freezer-safe bags. Freezing is excellent for preserving freshness, and you can simply toast slices directly from the freezer. Avoid refrigerating bread, as it actually accelerates starch retrogradation, making it stale and dry much faster.
Breaking free from the cycle of dry, crumbly homemade bread is incredibly rewarding. It’s not about achieving perfection on the first try, but about understanding the subtle science behind each step and making conscious adjustments. The shifts I’ve shared, from truly understanding hydration to respecting the cooling process, transformed my baking from frustrating failures to consistent successes. Start by focusing on one or two of these areas in your next baking session. Perhaps pay closer attention to the dough’s tackiness, or commit to waiting a full two hours before slicing. Each small adjustment builds confidence and improves your results. Embrace the learning process, trust your senses, and soon you’ll be enjoying perfectly light, airy, and tender loaves, every single time. Happy baking!
Written by Eleanor Vance
Productivity and Home Management
A retired librarian with a lifelong passion for organization and effective learning strategies.
You Might Also Like

Why Your Homemade Cookies Are Hard (And The Simple Shifts That Guarantee Chewy Perfection Every Time)
Discover why your homemade cookies turn out hard and how to make them perfectly chewy every time with these simple, effective shifts.

Why Your Car Stereo Isn't Loud Enough (And The Overlooked Upgrade That Changes Everything)
Boost your car audio volume without distortion. Discover the overlooked component that transforms sound and how to upgrade it properly.

Why Your Home Always Feels Cold (Even With The Heating On) — And What Actually Works for Real Warmth
Discover the hidden reasons your home stays cold despite high thermostat settings, and learn practical solutions that actually deliver warmth.