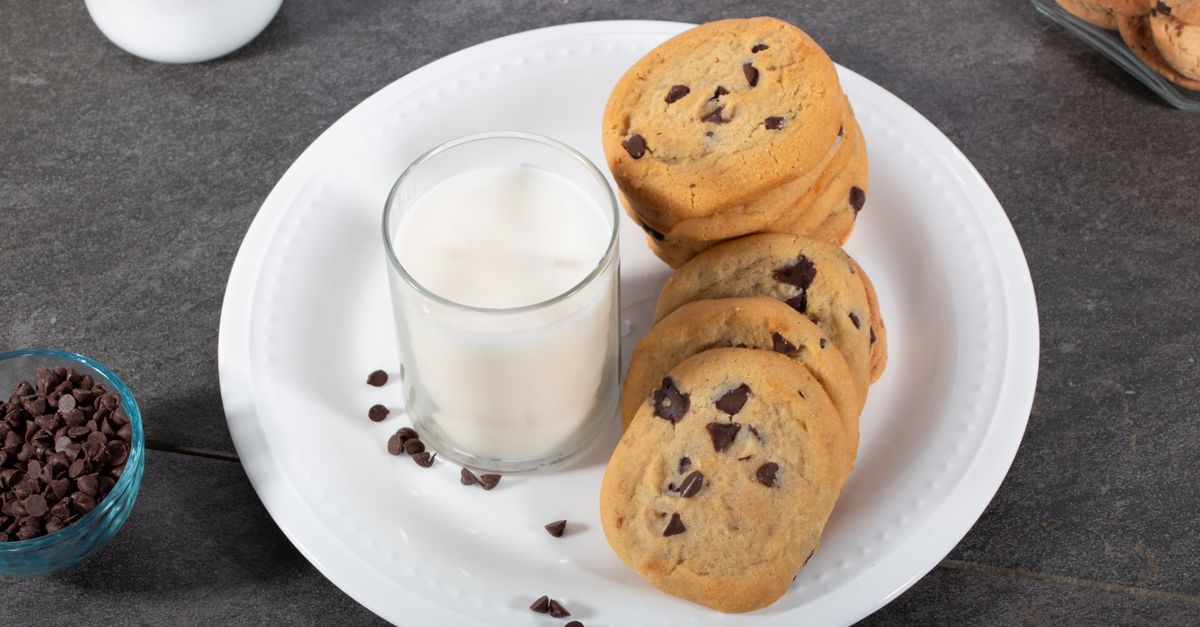
Why Your Homemade Cookies Are Flat (And The Simple Fixes That Guarantee Puffy Results Every Time)
There’s nothing quite like the anticipation of pulling a tray of golden-brown cookies from the oven. You picture those perfect, slightly domed, chewy-in-the-middle, crispy-on-the-edges delights. But too often, that dream turns into a flat, greasy disappointment, a thin wafer barely resembling the cookie you envisioned. I’ve been there more times than I care to admit – an entire batch of chocolate chip cookies spreading into a single, amorphous blob. It’s frustrating, disheartening, and a waste of good butter. If you’re consistently facing the dreaded ‘pancake cookie’ problem, you’re not alone. Most home bakers, myself included, have wrestled with this, often blaming the recipe when the real culprits are far more subtle and easily corrected.
In my years of baking, first as a novice making every mistake in the book, then as someone who truly understands the science and art of the perfect cookie, I’ve learned that achieving that ideal puffy texture isn’t about magic. It’s about precision, understanding your ingredients, and a few non-obvious techniques that completely transform your results. What changed everything for me wasn’t just finding a ‘better’ recipe, but understanding why my cookies were behaving the way they were. Once you grasp these principles, you’ll consistently bake cookies that are the envy of every bake sale.
Key Takeaways
- Ensure your butter is truly cold and use a higher ratio of brown sugar to white sugar for less spread and more chew.
- Avoid over-creaming butter and sugar, as too much air leads to excessive spreading during baking.
- Chill your cookie dough for at least 30 minutes to firm up fats and prevent immediate spreading in the oven.
- Use parchment paper or silicone mats for baking, as greased sheets can exacerbate spreading.
- Invest in an oven thermometer to ensure your oven maintains the correct, consistent temperature.
The Overlooked Temperature of Your Butter (It’s Not Just ‘Softened’)
The vast majority of cookie recipes call for “softened butter.” This is where the first, and often most critical, mistake is made. “Softened” is incredibly vague, and for many, it translates to butter left out on the counter for hours, or even worse, slightly microwaved until it’s borderline melted. Both scenarios are a recipe for flat cookies.
Think about it: butter is a fat, and fat is what gives your cookies structure and tenderness. When butter is too warm (soft, greasy, or partially melted), it releases its moisture and fat too quickly in the oven. This means the butter spreads before the other ingredients have a chance to set, leading to those thin, crispy, often greasy discs. The ideal “softened” butter should still be cool to the touch and hold its shape when pressed. It should indent easily, but not be mushy. I learned this the hard way after countless batches of flat cookies. My game-changer was realizing that butter should be cool, not warm, and never greasy.
What actually works? If a recipe calls for softened butter, I aim for butter that’s been out of the fridge for no more than 15-20 minutes, or until it barely yields when pressed. However, for genuinely puffy cookies, I often take a page from the shortbread playbook: cold butter, cut into small pieces. Some of my most consistently puffy cookie recipes actually start with cold, cubed butter and instruct me to cream it with the sugar for only a minute or two. The friction from the mixer just softens the butter enough to incorporate the sugar, but the butter itself remains relatively firm, leading to less spread. If you’re struggling with flat cookies, try a recipe that specifically uses cold butter, or significantly reduce the softening time for your butter to ensure it’s still firm and cool.
The Hidden Trap of Over-Creaming Butter and Sugar
Many cookie recipes instruct you to “cream butter and sugar until light and fluffy.” While this is good advice for certain cakes or lighter, airy cookies, for a classic chewy, puffy cookie, over-creaming is a silent killer of texture. The creaming process incorporates air into the butter and sugar mixture. This air, while good for lift, also causes the butter to warm up faster. As it warms, it expands, creating more pockets of air. When these air pockets hit the heat of the oven, they collapse quickly, leading to rapid spreading before the flour and eggs have a chance to firm up the cookie structure.
In my experience, what changed everything was significantly reducing my creaming time. Instead of creaming for 5-7 minutes until the mixture was pale and voluminous, I now aim for just 2-3 minutes, or until the butter and sugar are just combined and appear slightly aerated. The mixture should still be somewhat dense, not airy. The goal is to integrate the sugar into the butter, not to whip it into a cloud.
This counter-intuitive adjustment makes a profound difference. By limiting the air incorporated at this stage, you create a denser dough that holds its shape better in the oven. The cookies will still rise, but it will be a more controlled, slower rise, allowing them to set before spreading excessively. This is particularly true for recipes heavy on butter and sugar – those delicious chocolate chip or peanut butter cookies that are prone to spreading.
The Sugar Ratio: A Non-Obvious Culprit
Not all sugars are created equal when it comes to cookie spread. Most cookie recipes use a combination of white granulated sugar and brown sugar. The ratio of these two, often overlooked, plays a critical role in how your cookies will behave.
White granulated sugar is pure sucrose and promotes spreading. It melts quickly in the oven, leading to a thinner, crispier cookie. If your recipe has a very high ratio of white sugar to brown sugar, or exclusively uses white sugar, you’re likely to get flat results.
Brown sugar, on the other hand, contains molasses. Molasses is acidic and hygroscopic (meaning it attracts and retains moisture). This acidity helps to activate baking soda, creating more gas and therefore more lift in the cookie. The moisture from the molasses keeps the cookie softer and chewier, and crucially, it slows down the rate at which the sugar melts and spreads. This gives the cookie more time to set its structure before flattening out.
What changed everything for me was realizing that I could subtly adjust the sugar ratio in some of my favorite recipes. If a recipe consistently gave me flat cookies, and it had a 1:1 ratio of white to brown sugar (or more white sugar), I’d try a 1:1.5 or even 1:2 ratio of white to brown sugar. For instance, if a recipe calls for 1 cup white sugar and 1 cup brown sugar, I might try 3/4 cup white sugar and 1 1/4 cups brown sugar. This simple swap significantly increased the puffiness and chewiness of my cookies without altering the flavor profile dramatically. Experiment with this ratio, especially for chocolate chip or oatmeal cookies, and you’ll see a noticeable improvement in texture.
The Crucial Role of Chilling Your Dough (And Why 15 Minutes Isn’t Enough)
If there’s one piece of advice that almost universally applies to preventing flat cookies, it’s chilling your dough. Yet, many bakers skip this step entirely, or only chill for a token 15-20 minutes, thinking it’s enough. In my experience, anything less than 30 minutes, and ideally an hour or more, often doesn’t cut it.
Chilling cookie dough accomplishes several vital things:
- Firms up the fat: Cold butter melts slower in the oven, giving the cookie more time to set before spreading. This is the primary reason for chilling.
- Hydrates the flour: The flour in your dough absorbs more moisture as it rests, creating a thicker, more stable dough. A hydrated flour structure is less likely to collapse and spread.
- Concentrates flavors: While not directly related to puffiness, chilling also allows the flavors to meld and deepen, resulting in a more delicious cookie.
What changed everything for me was embracing overnight chilling for my cookie dough. While I understand not everyone has that kind of time, even a 1-2 hour chill in the refrigerator makes a world of difference. When I absolutely cannot chill for long, I’ll shape the dough balls and then pop them in the freezer for 15-20 minutes just before baking. This rapid chilling of the individual dough balls offers a similar, though less effective, benefit to a longer refrigerator chill. Don’t underestimate this step – it’s a non-negotiable for consistently puffy cookies.
Baking Surface and Oven Temperature: Silent Saboteurs
Beyond the ingredients and mixing, the conditions inside your oven and the surface your cookies bake on are critical for preventing spread. These are often factors bakers don’t consider until they’ve tried everything else.
Greased Baking Sheets: While traditional, greasing your baking sheets with butter or oil can actually exacerbate spreading. The extra layer of fat acts as a lubricant, allowing the cookie dough to slide and spread more easily. What actually works for perfectly baked, non-stick cookies that hold their shape is parchment paper or silicone baking mats. These provide a non-stick surface without adding extra fat, giving your cookies a better chance to set before melting outwards. I keep a stack of pre-cut parchment sheets and several silicone mats on hand for all my baking.
Inaccurate Oven Temperatures: This is a huge, often unseen problem. Most home ovens are notoriously inaccurate, often running 25-50 degrees hotter or colder than the dial indicates. An oven that’s too cool won’t set the cookies fast enough, leading to excessive spreading. An oven that’s too hot can brown the outside too quickly while the inside remains unset, or cause the fat to melt too rapidly. I can’t emphasize this enough: invest in an inexpensive oven thermometer. This changed my baking life. I discovered my oven was running 30 degrees cooler than it claimed, and once I adjusted, my cookies immediately improved. Always preheat your oven for at least 15-20 minutes after it reaches the set temperature to ensure the heat is evenly distributed and stable.
Frequently Asked Questions
Q: Can using too much baking soda or baking powder make cookies flat?
A: Yes, it absolutely can! While leavening agents are essential for lift, using too much can cause cookies to rise rapidly and then collapse, leading to a flat, often crumbly texture. Baking soda, in particular, reacts with acids (like those in brown sugar or buttermilk) and can cause excessive spread if not balanced. Always measure leavening agents precisely, preferably with a digital scale for accuracy.
Q: Does adding extra flour fix flat cookies?
A: Adding extra flour can sometimes help, as it provides more structure to the dough, making it less prone to spreading. However, it’s a delicate balance. Too much flour can result in dry, tough, or cakey cookies. It’s better to address the root causes of spreading (butter temperature, creaming, chilling, oven temperature) before resorting to adding more flour, which can alter the intended texture and flavor of the recipe.
Q: Why do my cookies always flatten even when I chill the dough?
A: If your cookies are still flattening despite chilling, revisit the other culprits: Is your butter truly cold enough before mixing? Are you over-creaming the butter and sugar? Is your oven temperature accurate (use an oven thermometer!)? Also, ensure you’re using parchment paper or silicone mats, as greased sheets can still cause spreading. A short chill in the freezer after shaping the dough balls can also provide an extra boost of coldness just before baking.
Q: Should I let cookie dough come to room temperature after chilling?
A: No, absolutely not if you want puffy cookies! The whole point of chilling is to firm up the fats so they melt slower in the oven. Taking the dough out and letting it warm up negates this benefit, potentially leading to flat cookies again. Bake your dough straight from the refrigerator (or freezer, if you did a flash freeze). This thermal shock helps the cookies hold their shape.
Q: Does the type of flour affect cookie spread?
A: Yes, to some extent. Flours with a higher protein content (like bread flour) absorb more liquid and create a stronger gluten structure, which can lead to slightly chewier, more substantial cookies with less spread. All-purpose flour is typically fine, but using a very low-protein flour (like cake flour) might result in more spread due to its weaker gluten structure. For most home bakers, focusing on butter temperature, creaming, chilling, and oven accuracy will yield more significant results than changing flour types.
Baking perfect, puffy cookies consistently feels like a superpower, and now you have the insights to wield it. Stop fighting against your cookies and start understanding them. With these simple, yet often overlooked, fixes, you’ll be pulling beautifully domed, chewy cookies from your oven every time. Go ahead, bake a batch and experience the transformation for yourself!
Written by Eleanor Vance
Productivity and Home Management
A retired librarian with a lifelong passion for organization and effective learning strategies.
You Might Also Like

Why Your Homemade Cookies Are Hard (And The Simple Shifts That Guarantee Chewy Perfection Every Time)
Discover why your homemade cookies turn out hard and how to make them perfectly chewy every time with these simple, effective shifts.

Why Your Car Stereo Isn't Loud Enough (And The Overlooked Upgrade That Changes Everything)
Boost your car audio volume without distortion. Discover the overlooked component that transforms sound and how to upgrade it properly.

Why Your Home Always Feels Cold (Even With The Heating On) — And What Actually Works for Real Warmth
Discover the hidden reasons your home stays cold despite high thermostat settings, and learn practical solutions that actually deliver warmth.