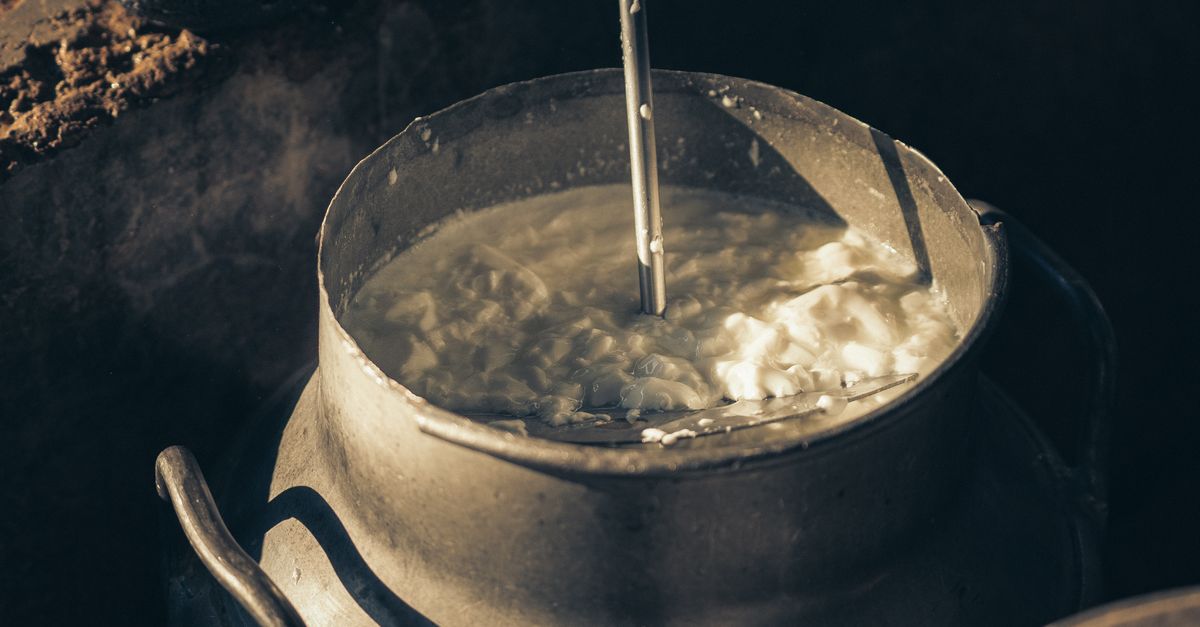
Why Your Homemade Yogurt Isn't Thick and Creamy (And The Pro Secrets That Guarantee Perfect Texture Every Time)
You’ve tried it. The allure of fresh, probiotic-rich homemade yogurt, saving money, and controlling ingredients is strong. You follow a recipe, carefully heat the milk, add your starter culture, and incubate it for hours. The next morning, you eagerly check your creation, only to find… a thin, watery, slightly lumpy mess that barely resembles the store-bought creamy goodness you envisioned. It’s frustrating, right? You’ve invested time, effort, and ingredients, and instead of a delightful breakfast, you have something closer to fermented milk soup. In my experience, this isn’t just a minor setback; it’s the primary reason most people give up on homemade yogurt entirely. They assume it’s too complicated, or that their kitchen just ‘isn’t made for it.’ But the truth is, a few subtle, often overlooked details make all the difference between a watery disappointment and a lusciously thick, perfectly tangy batch of homemade yogurt.
Key Takeaways
- The type of milk, specifically its protein and fat content, is the most crucial factor for achieving thick yogurt.
- An often-skipped, lengthy heating and cooling process for milk is essential for denaturing proteins and creating a robust structure.
- Precise temperature control during incubation, not just ‘warm,’ directly impacts bacterial activity and curd formation.
- Proper straining after incubation removes excess whey, concentrating the yogurt for a truly creamy consistency.
The Protein Power Paradox: Why Your Milk Choice Matters More Than You Think
When I first started making yogurt, I thought any milk would do. I’d grab whatever was on sale – usually a lower-fat option – and be consistently disappointed with the thin results. The mistake I see most often is underestimating the fundamental role of milk composition, particularly its protein and fat content. It’s not just about adding a starter; it’s about giving that starter the right raw material to work with. Think of it like baking: you wouldn’t expect a fluffy cake if you used bread flour instead of cake flour. The milk is your foundational ‘flour.’
For truly thick and creamy yogurt, full-fat whole milk is almost always the superior choice. Why? Whole milk contains more milk solids, including protein and fat, which contribute directly to the final texture. The casein proteins in milk form a matrix that traps water during fermentation. More protein means a stronger, denser matrix. While lower-fat milks can make yogurt, they often require added milk powder or extra steps to achieve comparable thickness, because their protein content is simply lower.
Beyond just the fat percentage, the protein content itself is critical. I’ve found that seeking out milk specifically labeled as ‘higher protein’ or even using a portion of ultra-filtered milk can drastically improve thickness. Ultra-filtered milk has some water removed, concentrating the protein naturally. For example, if I’m using conventional whole milk, I’ll often add 1/2 cup of non-fat dry milk powder per half-gallon of liquid milk. This boosts the protein without significantly altering the flavor or adding unwanted fat. This isn’t just an optional step; it’s a game-changer. Without sufficient protein, the lactic acid bacteria simply don’t have enough material to form a robust curd, leading to a weak, runny structure. Don’t cheap out on your milk or skip the protein boost if you want that luxurious, scoopable texture.
The Unsung Hero: Heating and Cooling for Structural Integrity
Many recipes gloss over the initial milk heating step, treating it as a simple ‘warm-up.’ This is a huge oversight, and in my experience, one of the most common reasons for thin yogurt. The initial heating and subsequent cooling process isn’t just about reaching a certain temperature; it’s about fundamentally altering the milk’s protein structure to create a stable foundation for your yogurt.
To achieve true thickness, you need to heat your milk to a rolling boil or at least 180-185°F (82-85°C) and hold it there for 10-15 minutes. This extended high-heat period serves two critical purposes: killing undesirable bacteria that could compete with your starter culture, and more importantly, denaturing the whey proteins. When whey proteins are denatured, they unravel and can then integrate into the casein protein matrix, strengthening it significantly. Without this crucial step, these whey proteins remain separate and won’t contribute to the yogurt’s body, resulting in a weaker, more fragile curd that releases whey easily and feels thin.
After heating, the equally critical step is cooling the milk to the ideal incubation temperature of 105-115°F (40-46°C). Rapid cooling, often done in an ice bath, prevents the milk from developing an ‘off’ cooked flavor and gets it to the correct temperature quickly. Adding your starter to milk that is too hot will kill the beneficial bacteria, and adding it to milk that is too cold will cause them to be sluggish, both leading to weak or failed fermentation. I use a reliable digital thermometer and don’t take it out of the milk until the target temperature is reached, then give it an extra minute or two to ensure the heat is evenly distributed. This meticulous attention to the heating and cooling curve is the unsung hero of thick, creamy homemade yogurt.
The Temperature Tightrope: Incubation Control is Everything
Once you’ve added your starter, the incubation phase is where the magic happens – or fails to happen, if temperatures aren’t precisely controlled. Many beginners think ‘warm’ is good enough. However, the specific strains of bacteria in yogurt starter cultures (primarily Lactobacillus bulgaricus and Streptococcus thermophilus) are incredibly sensitive to temperature fluctuations. A slight deviation can significantly impact their activity and, consequently, your yogurt’s texture.
The sweet spot for incubation is consistently between 105°F and 115°F (40-46°C). If the temperature drops too low, the bacteria become sluggish, fermenting slowly and producing less lactic acid. This results in a weaker, thinner curd and often a less tangy flavor. If the temperature goes too high, the bacteria can die off or become overactive, leading to a grainy, overly sour, or separated yogurt. Think of it as a delicate balancing act.
I’ve tried various incubation methods: a simple cooler with hot water, wrapping jars in blankets, even a pilot light in an oven. The most reliable method I’ve found for consistent thickness is using a dedicated yogurt maker or, failing that, a sous vide immersion circulator. A sous vide machine can hold a water bath at an exact temperature for hours, creating the perfect environment for bacterial growth. If those aren’t options, a dehydrator with a temperature control setting can also work for smaller batches. The key is stability. Fluctuations of even a few degrees can sabotage the delicate protein coagulation process. Invest in a good thermometer and a consistent heat source, and you’ll see a dramatic improvement in your yogurt’s texture.
The Secret to Greek-Style Creaminess: Don’t Skip the Strain
Even with perfect milk, heating, and incubation, your yogurt might still feel thinner than you desire. This is where the final, often-skipped step comes in: straining. Straining removes excess whey, concentrating the milk solids and resulting in that coveted, ultra-thick, Greek-style texture. If you’re aiming for that luscious, spoon-standing-up-straight consistency, this step is non-negotiable.
Once your yogurt has finished incubating and chilled for a few hours in the refrigerator (this helps solidify the curd before straining), gently transfer it to a fine-mesh sieve lined with cheesecloth, butter muslin, or a reusable nut milk bag. Place the sieve over a bowl to catch the whey. The longer you strain, the thicker your yogurt will become. For a moderately thick, creamy texture, 1-2 hours is usually sufficient. For a truly dense, spreadable Greek yogurt, I often strain for 4-6 hours, or even overnight in the refrigerator.
Don’t discard the whey! This yellowish liquid is packed with nutrients and probiotics and can be used in smoothies, baking (it makes excellent bread!), or as a base for fermentation projects. While straining adds an extra step and some waiting time, the difference it makes in texture is profound. It transforms a good yogurt into an exceptional one, delivering that rich mouthfeel that often defines premium store-bought versions. It’s the final polish that elevates your homemade efforts to professional quality.
Frequently Asked Questions
Q: Why is my homemade yogurt still thin even after heating the milk to 180°F and incubating properly?
A: If your yogurt is still thin despite correct heating and incubation, the most likely culprits are insufficient protein in your milk (try adding 1/4 to 1/2 cup of non-fat dry milk powder per half-gallon of whole milk before heating) or a weak/old starter culture. Ensure your starter is fresh and active. Also, remember to strain the yogurt after chilling to remove excess whey and concentrate the solids for a thicker texture.
Q: Can I use skim milk or low-fat milk to make thick yogurt?
A: While technically possible, achieving truly thick yogurt with skim or low-fat milk is challenging because they contain fewer milk solids. You will almost certainly need to add non-fat dry milk powder (at least 1/2 cup per half-gallon) to boost the protein content, and straining will be even more critical to achieve a dense texture. For best results, full-fat whole milk is highly recommended.
Q: How do I know if my yogurt starter culture is still active?
A: To test your starter, warm a small amount of milk (about 1/2 cup) to 110°F (43°C), add a tablespoon of your starter, stir, and let it sit in a warm spot for 4-6 hours. If the milk thickens and smells tangy, your starter is active. If it remains liquid or develops an off-odor, it’s time to get a new starter.
Q: What’s the best way to maintain a consistent incubation temperature?
A: For optimal consistency, a dedicated yogurt maker, an Instant Pot with a ‘yogurt’ function, or a sous vide immersion circulator in a water bath are ideal. If you don’t have these, a cooler filled with warm water (changing the water periodically to maintain temperature) or an oven with the light on (monitoring temperature closely with a thermometer) can work for smaller batches, but require more vigilance.
Q: How long should I incubate my yogurt?
A: Incubation time typically ranges from 4 to 12 hours. Shorter times (4-6 hours) yield milder, thinner yogurt, while longer times (8-12 hours) produce tangier, thicker yogurt. Beyond 12 hours, the yogurt can become overly sour, grainy, or separate excessively. Taste and texture preferences will guide your ideal incubation duration.
Q: What can I do with the leftover whey from straining my yogurt?
A: Don’t throw it out! Acid whey is highly nutritious. You can use it in smoothies, as a liquid for baking (like bread or pancakes), to cook grains, in place of water when soaking beans, or even as a facial toner. Some people also use it to lacto-ferment vegetables or make ricotta cheese.
Achieving consistently thick, creamy homemade yogurt isn’t about luck; it’s about understanding the science behind the process and paying attention to a few crucial details. By focusing on high-protein milk, rigorous heating and cooling, precise temperature control during incubation, and the transformative step of straining, you can elevate your homemade yogurt from a watery disappointment to a velvety, satisfying treat. Don’t be discouraged by past failures – armed with these insights, your next batch will be a success. Start with a good quality whole milk and embrace the straining process, and you’ll be enjoying truly rich, thick yogurt in no time.
Written by Eleanor Vance
Productivity and Home Management
A retired librarian with a lifelong passion for organization and effective learning strategies.
You Might Also Like

Why Your Homemade Cookies Are Hard (And The Simple Shifts That Guarantee Chewy Perfection Every Time)
Discover why your homemade cookies turn out hard and how to make them perfectly chewy every time with these simple, effective shifts.

Why Your Car Stereo Isn't Loud Enough (And The Overlooked Upgrade That Changes Everything)
Boost your car audio volume without distortion. Discover the overlooked component that transforms sound and how to upgrade it properly.

Why Your Home Always Feels Cold (Even With The Heating On) — And What Actually Works for Real Warmth
Discover the hidden reasons your home stays cold despite high thermostat settings, and learn practical solutions that actually deliver warmth.